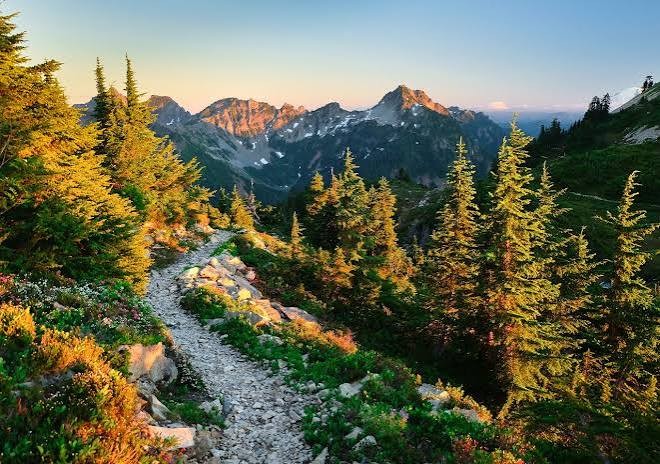
The first time you look up a mountain to climb, it is easy to get carried away by the photographs. You see a narrow trail cutting across a ridge, clouds drifting past a summit, and hikers standing above a sea of hills. You picture yourself there. Then you start reading trail descriptions and wonder whether you are fit enough, whether the path is safe, or whether you have chosen something far beyond your experience.
That hesitation is normal. Your first mountain does not need to be the tallest or the most famous one. It needs to be a route where you can learn how your body handles a climb, enjoy the view, and still have enough energy to get back down comfortably.
Here is how to choose that mountain without turning your first trip into a test of survival.
Start with a hike, not a technical climb
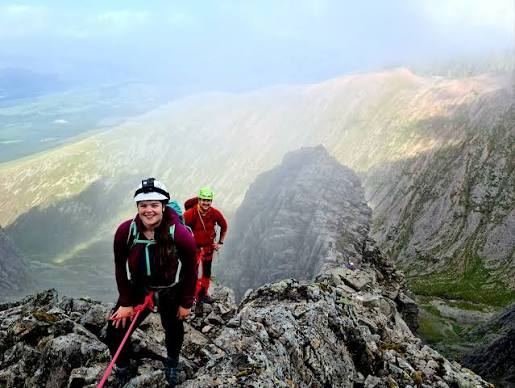
People often use “climbing a mountain” to mean hiking to its summit. For a first trip, look for a maintained hiking trail rather than a route that requires ropes, climbing equipment, scrambling, or route-finding over exposed rock. A mountain can be physically demanding even when it does not require technical climbing skills.
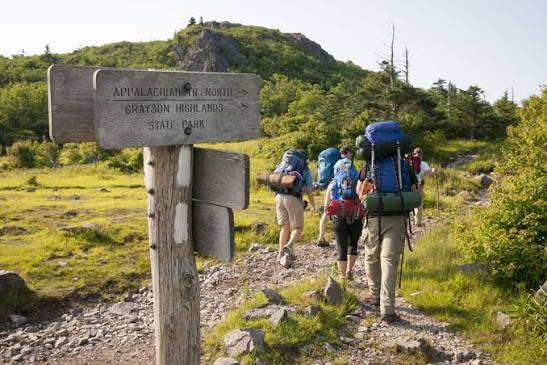
When reading a trail description, look for words such as “maintained trail,” “nontechnical,” or “well-marked.” Be cautious if it mentions exposed ledges, hands-on scrambling, loose rock, or a route that is difficult to follow. Save those challenges for when you have more experience.
Choose a short route with a manageable climb
For many beginners, a round-trip hike of about 2 to 3 miles (3.2 to 4.8 km) is a sensible starting point, provided the route is not too steep. Aim for a trail with roughly 1,000 feet (300 metres) of elevation gain or less. These are starting guidelines, not guarantees: a short, rocky ascent can feel harder than a longer walk on a gentle path.
Check the elevation gain, not just the mountain’s height above sea level. Elevation gain tells you how much climbing you will do from the trailhead. If you have mostly walked on flat ground, choose a route with a gradual slope and room to stop for breaks.
Look for a trail that matches your comfort level
Think about what usually tires you out. If stairs leave you breathless, avoid a steep summit route for now. If uneven ground makes you nervous, choose a broad, clearly marked path instead of one covered in loose stones and roots. If you are uneasy around drop-offs, avoid exposed ridges even when the mileage looks easy.
Good first-mountain options are often short summit trails or popular state-park hikes with clear signs and a well-used path. For example, Stony Man in Shenandoah National Park, Virginia, is a relatively short mountain-view hike. In Massachusetts, the Mount Sugarloaf summit route offers a rewarding valley view, but the state describes the 1.4-mile introductory hike as moderate and steep. Check the route details before choosing it; short does not always mean easy.
Use the official park or land-manager website to confirm the exact trail, distance, elevation gain, parking arrangements, and current closures. Do not rely on a photograph or a social media caption to judge difficulty.
Be honest about weather and the season
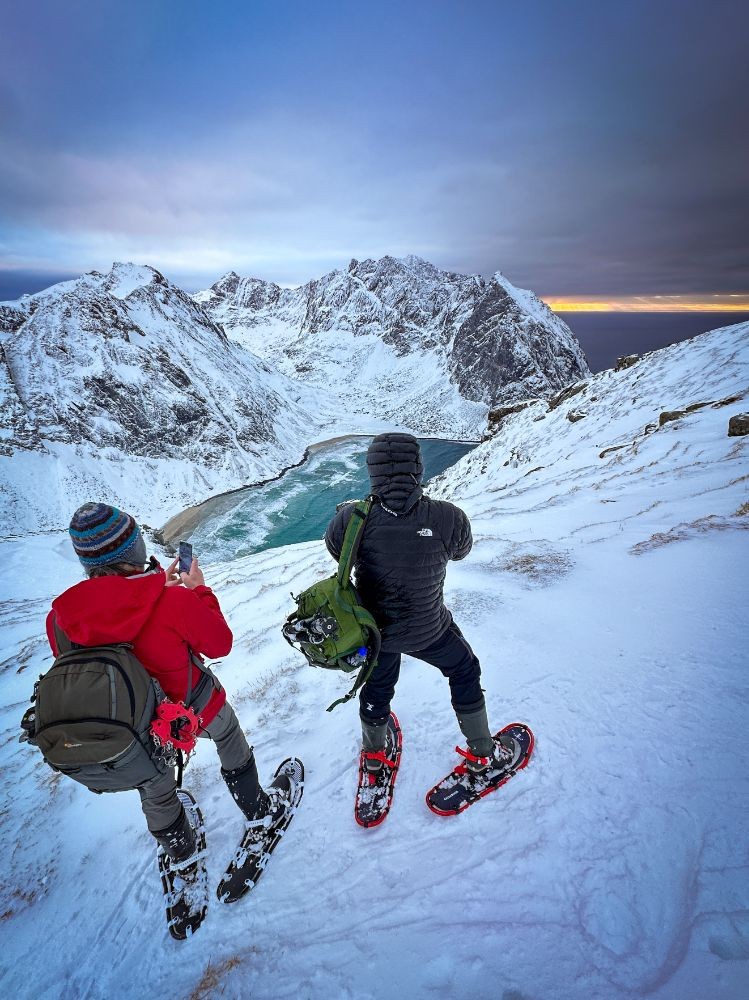
A trail that feels manageable on a dry summer morning can become a different hike when it is icy, muddy, hot, or covered in snow. Wind can make a summit much colder than the parking area, and fog can hide trail markers or views. Beginners should avoid making their first summit attempt in severe weather or on a route with snow and ice unless they have the right skills and equipment.
Check the forecast for the mountain, not just the nearest town. Also check the park’s trail alerts and road status on the day you go. If storms, high winds, extreme heat, or ice are expected, choose a lower route or postpone the trip.
Make the descent part of your plan
Reaching the top can feel like the whole point, but the hike is not finished there. Going downhill can be hard on tired legs, and loose stones or wet roots can make the return slower than the climb. Before leaving, decide what time you will turn around if you are moving more slowly than expected.
Bring water, a snack, a map you can use offline, a charged phone, and an extra layer. Wear shoes with a secure fit and good grip. Tell someone where you are going and when you expect to return. If you start feeling unwell, the weather changes, or the trail becomes more exposed than expected, turning back is a sensible decision—not a failure.
A simple checklist before you choose your first mountain
- The route is a maintained hiking trail, not a technical climbing route.
- The round-trip distance and elevation gain fit your current fitness.
- The path does not include scrambling or exposed drop-offs you are uncomfortable with.
- You have checked the official trail page, weather forecast, and closure alerts.
- You have water, food, suitable footwear, extra clothing, navigation, and a return-time plan.
- You are willing to turn around if conditions or your energy level change.
Your first summit should leave you wanting to hike again
There is a particular feeling when you reach a summit for the first time. The trees fall away, the landscape opens up, and the climb that seemed intimidating from below suddenly feels worth the effort. You do not need a dangerous ridge or an exhausting all-day route to earn that moment.
Choose a modest mountain, start early, take your time, and let the day be about learning rather than proving something. A good first climb is one where you enjoy the view—and feel comfortable enough on the way down to want to come back for another.
Useful official resources
- Shenandoah National Park: How to determine hiking difficulty
- Appalachian Mountain Club: A beginner’s guide to hiking
- Massachusetts DCR: Mount Sugarloaf hike details
About Me
Hi, I’m Graham, the creator of Wild Trail Atlas.
I share travel inspiration, hiking guides, and outdoor gear recommendations to help you plan your next adventure.
My goal is to make exploring the outdoors easier with practical information and useful resources.
Whether you’re planning a weekend getaway or a mountain adventure, Wild Trail Atlas is here to help you explore more.
More from Wild Trail Atlas