A week in Colorado’s Rocky Mountains is more enjoyable when you choose a focused route instead of trying to cover the entire state. This itinerary uses Estes Park and Grand Lake as the main bases for a slower visit to Rocky Mountain National Park (RMNP), with scenic drives and shorter outdoor options between the bigger days.
This is a framework rather than a fixed booking plan. Trail Ridge Road is seasonal and weather dependent, and park entry or timed-entry arrangements can change. Always check official road status, entry rules, trail conditions and weather for the exact dates of your trip before relying on the sequence below.
At a glance: the seven-day route
| Day | Base or area | Main idea | Keep flexible |
|---|---|---|---|
| 1 | Denver to Estes Park | Arrive, settle in and take an easy walk in town or at a nearby low-commitment stop. | Arrival delays, rental-car pickup and rest. |
| 2 | Estes Park / east side of RMNP | Explore the Bear Lake Road corridor and choose one or two short walks appropriate to the group’s ability. | Entry rules, parking availability, weather and trail conditions. |
| 3 | East side of RMNP | Choose a different valley or scenic area; use a viewpoint-focused day if the group needs a break from hiking. | Wildlife closures and busy parking areas. |
| 4 | Trail Ridge Road / Grand Lake, if open | Make the mountain crossing a major sightseeing day only when the road is officially open and conditions are suitable. | Seasonal closures, high-elevation weather, timed entry if applicable. |
| 5 | Grand Lake / west side | Explore the west side at a relaxed pace and choose a walk or lakeside stop that fits the weather. | Road and trail status, afternoon storms and energy levels. |
| 6 | Grand Lake or a nearby mountain community | Keep a flexible day for an easy nature outing, a scenic drive that is open, or a weather backup. | Do not commit to a remote hike without checking conditions. |
| 7 | Return toward Denver | Leave enough time for the drive and an unhurried final stop close to your route. | Return-car time, weather and traffic. |
Day 1: arrive and acclimatise to mountain travel
Use the first day to pick up your car, reach Estes Park and settle in. A relaxed walk in town or a simple viewpoint is enough. Do not plan a strenuous high-elevation hike immediately after a flight or long drive. Altitude can make ordinary exertion feel harder, and an easy first afternoon gives you time to notice how the group is responding.
Before the next morning, review the park map, entry requirements and road status. Save offline navigation because mobile service can be unreliable in mountain areas. Check your accommodation location against the entrance and corridor you intend to visit; a map pin is not the same as a realistic morning travel plan.
Day 2: explore the Bear Lake Road corridor
Reserve this day for a well-planned visit to the Bear Lake Road corridor. The road climbs from the park entrance toward high-elevation trailheads, so conditions can differ from those in town. The National Park Service advises visitors to prepare for snow and ice in winter and spring; weather can change at any time.
Pick one main walk and one shorter option rather than planning a long list of trailheads. Before leaving, confirm entry requirements, any timed-entry reservations, the status of the trail you selected and current parking or shuttle arrangements. If parking or conditions do not suit your plan, use a lower-commitment area that is officially open.
Day 3: make the east side more than a checklist
Use the third day for a different part of the park or a viewpoint-first itinerary. The point is to avoid repeating the same drive and rushing between trailheads. Choose stops from the current park map and note which roads connect them. If the group is tired, a scenic day with short walks is better than adding a steep climb to meet an arbitrary target.
Wildlife and temporary area closures can affect access. Keep a safe distance from animals and follow barriers and ranger instructions. Do not stop in the road or at an unsigned shoulder to photograph wildlife.
Day 4: cross Trail Ridge Road only if conditions permit
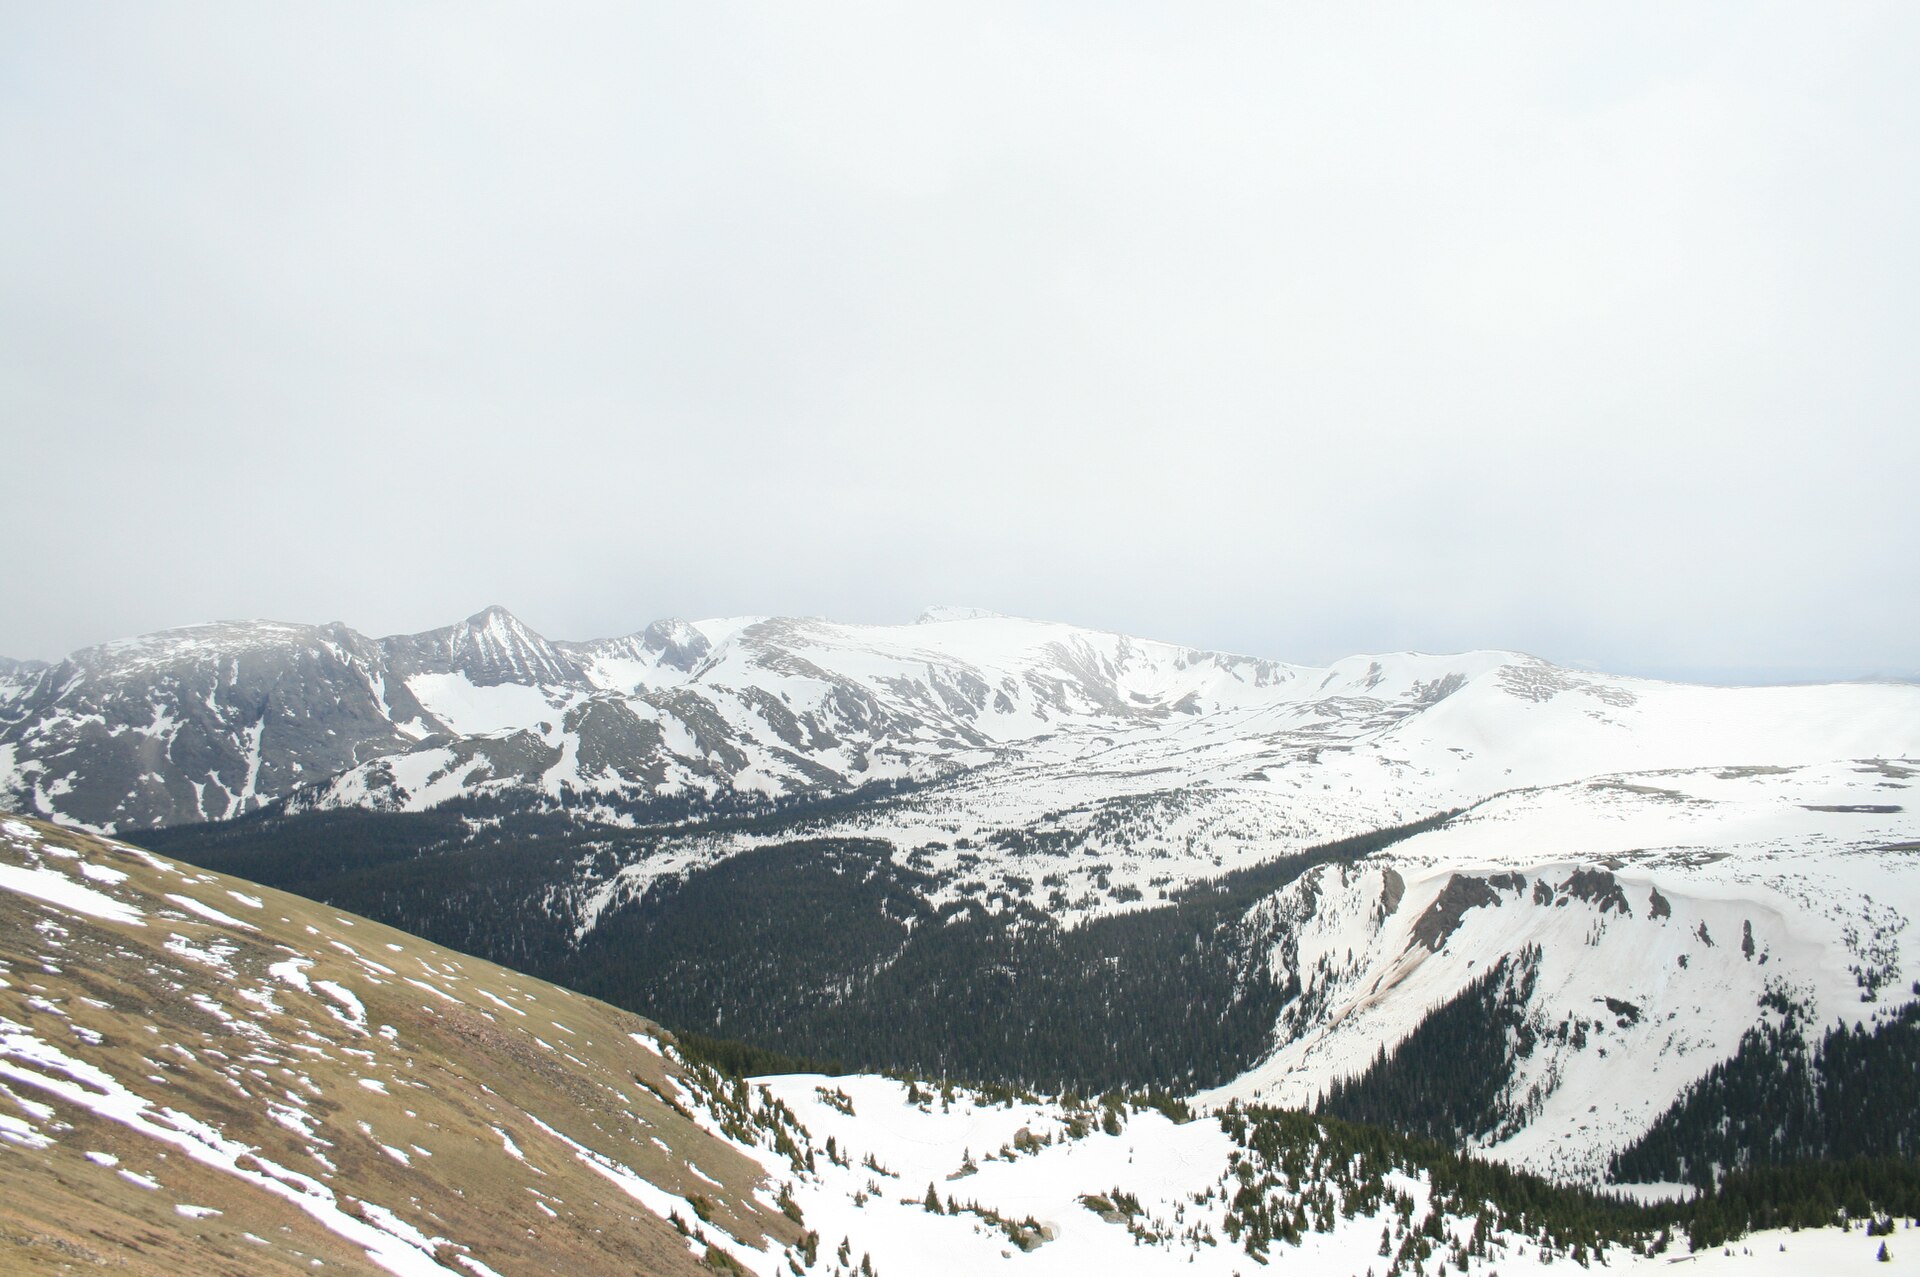
Trail Ridge Road is the dramatic high-country link between the Estes Park and Grand Lake sides of RMNP, but it is not an all-season through-road. The National Park Service explains that it normally closes to through travel from mid-October to late May, weather permitting, and temporary closures can occur outside that broad window.
Before committing to this day, confirm the live road status and any entry reservation requirement directly with the park. If the road is closed, do not assume the trip can still cross the park; use a verified public-road alternative and re-plan the overnight location. High elevation brings wind, cold, fast-changing weather and the possibility of snow or ice even when towns below feel warm.
If the crossing is open, treat the drive as the main activity. Allow time for designated overlooks, short marked walks where open and a slower descent. Do not try to combine every high-country stop with a demanding hike and a long transfer to a new hotel.
Day 5: explore Grand Lake and the west side
After the crossing, keep the day light. Choose a low-commitment lake or town walk, check the west-side trail status and enjoy the different feel of the landscape. Give yourselves a weather buffer: storms, wind or lingering snow can change which high-elevation options make sense.
Before setting out, confirm whether the specific trail or road you plan to use is open and whether the expected route length fits the remaining daylight. A map may show a short distance between places that takes longer to drive on mountain roads.
Day 6: keep a flexible day for nature or weather
Use this day to revisit an area you especially enjoyed, select a short route you skipped, or take a scenic drive that is confirmed open. It is also the right place to put a backup plan if weather disrupts the earlier days. Avoid treating a flexible day as permission to attempt a remote or strenuous route without checking current conditions, equipment requirements and your group’s fitness.
Day 7: return with time in reserve
Plan the return around your transport deadline and actual road conditions. Choose any final stop close to your route rather than adding a large detour. Refuel and check traffic before leaving the mountain area, and leave time for weather-related delays.
Where to stay and how to organise the days
For a week centred on RMNP, two bases reduce unnecessary packing and backtracking: several nights in Estes Park for the east side, then a few nights around Grand Lake if the road connection and season allow. If Trail Ridge Road is closed, the transfer between bases may need to be much longer via public roads; price and check this before booking non-refundable accommodation.
This route is not intended to cover every Colorado highlight. Places such as the San Juan Mountains, Great Sand Dunes and Colorado Springs are separate regions that deserve their own driving time. Adding them to this itinerary can turn a mountain holiday into a series of long transfers.
Altitude, weather and road safety
- Increase activity gradually and do not treat a short distance as easy when it gains substantial elevation.
- Carry warm layers, rain protection, water, snacks and offline navigation even on scenic-drive days.
- Check road and trail status each morning and again before travelling to remote or high-elevation locations.
- Respect temporary wildlife closures, signed restrictions and trailhead capacity.
- Keep a lower-elevation alternative for wind, storms, snow or road closures.
Official resources to verify before travel
- RMNP official road status
- RMNP current conditions and alerts
- RMNP operating hours and seasonal entry information
- RMNP trail conditions
Before publishing: verify current entry rules, road status, seasonal access and any reservation windows for the intended travel season. Never describe Trail Ridge Road as open based on a prior year’s dates.
Written & researched by Graham Grey
Graham Grey is the founder of Wild Trail Atlas and conducts the research behind its travel guides. Guides distinguish firsthand experience from independently researched information and are checked against relevant primary or official sources where available.
About Graham Grey · How Wild Trail Atlas researches its guides · Suggest a correction
Before You Go
- Check the current official access and conditions information before departure.
- Confirm seasonal closures, permits, reservations and transportation requirements that may apply.
- Build extra time into the day for parking, weather, road conditions and unexpected delays.
- Use the guide as a planning framework and verify time-sensitive details with the responsible land manager or official destination source.
- Treat driving times as planning estimates rather than guarantees, especially on scenic or mountain routes.
WILD TRAIL ATLAS • PRACTICAL PLANNING
Colorado Rockies: seven-day pace and altitude planner
A seven-day Colorado loop is more rewarding when it leaves room for altitude, winding drives, weather and road closures. This pacing framework is a planning aid, not a medical recommendation or a promise that every road will be open.
Initial source review: October 6, 2026. Conditions and operating rules change; check the linked official source again for your travel dates.
Map of destination and trailhead areas
Area pins only — these are not surveyed hiking lines. Use the official park map and current directions for the precise trailhead.
Interactive map loading. The links below remain available if the map service is unavailable.
Compare named routes
| Trail / destination | Distance | Time guide | Effort / climb | Access notes and source |
|---|---|---|---|---|
| Sprague Lake Loop A shorter lake loop with mountain views and a chance to ease into the trip Open map search ↗ | 0.8-mile loop | About 20–40 min (planning estimate) | Short loop; NPS describes it as wheelchair- and stroller-accessible, subject to current conditions Starting elevation about 8,701 ft; gain not specified in this page | Located in the Bear Lake Road corridor. From late May through mid-October, a Timed Entry+ Bear Lake Road reservation may be required during certain hours. Check current reservation rules. Official details ↗ |
| Bear Lake Loop A very short lake circuit near the Bear Lake trailhead Open map search ↗ | 0.6-mile loop | About 20–40 min (planning estimate) | Short loop, but it begins at high elevation About 71 ft; trailhead elevation about 9,475 ft | The parking area often fills early, including around 9 a.m. The trail may be snow-covered from late October through early June. Confirm shuttle service and winter access. Official details ↗ |
| Alberta Falls A classic waterfall walk from the Glacier Gorge area Open map search ↗ | 0.8 mile one way (1.6 miles round trip) | About 1–1.5 hours round trip (planning estimate) | Steady uphill sections; judge effort in the context of high altitude About 233 ft one way; starting elevation about 9,175 ft | The Glacier Gorge lot fills early. NPS advises considering Park & Ride and the seasonal Bear Lake shuttle to reach this popular trailhead. Official details ↗ |
| Dream Lake A scenic alpine-lake goal for hikers who feel comfortable after a lighter start Open map search ↗ | 1.1 miles one way (2.2 miles round trip) | About 1.5–2.5 hours round trip (planning estimate) | Sustained uphill walking at high elevation About 474 ft one way; starting elevation about 9,475 ft | Starts from Bear Lake. The lot can fill early; seasonal reservation and shuttle requirements vary. Check current trail conditions, snow/ice and access before going. Official details ↗ |
| Emerald Lake A longer alpine-lake hike only if the group is coping well with altitude and conditions Open map search ↗ | 1.7 miles one way (3.4 miles round trip) | About 2.5–3.5 hours round trip (planning estimate) | More demanding than the shorter lake options; uphill at high elevation About 771 ft one way; starting elevation about 9,475 ft | Starts from Bear Lake. Check the NPS trail status and seasonal reservation/shuttle rules; snow and ice can affect the route in colder months. Official details ↗ |
| Trail Ridge Road scenic drive A high-country scenic drive when the road is open and conditions are suitable Open map search ↗ | 48 miles one way across Rocky Mountain National Park | Allow several hours for the drive and viewpoint stops (planning estimate) | Driving route, not a hike; high-elevation exposure and weather-dependent access High point about 12,183 ft | Seasonal road with rapid weather changes and temporary closures. Check the NPS Park Roads page and recorded status line before driving; timed-entry rules may apply to the park. Official details ↗ |
Elevation comparison where official figures are available
Elevation gain as reported by the cited land manager. This compares total ascent only; it is not a distance-by-elevation trail profile.
Parking and access sequence
Planning schematic only, not a to-scale parking map. Check the official map and parking signs at arrival.
A realistic seven-day pace
The CDC advises gradual ascent and time to acclimatize. This outline is deliberately flexible; the route table above contains the named options and their one-way/round-trip distances.
- Day 1 — Arrival: settle in and keep activity light after travel. Avoid treating a strenuous hike as a must-do.
- Day 2 — Short loop: consider Sprague Lake Loop (0.8 mile) if current access is open, and take time to assess how the group feels.
- Day 3 — A moderate outing: consider Alberta Falls (1.6 miles round trip) only if the group feels well and the trail is suitable.
- Day 4 — Flex / recovery: use a short walk, visitor stop or rest day; do not schedule a strenuous hike merely to fill the itinerary.
- Day 5 — High-country drive: take Trail Ridge Road only if it is open and weather/access are suitable. Allow several hours and do not pair it with an ambitious hike.
- Day 6 — Choose by readiness: Dream Lake is about 2.2 miles round trip; Emerald Lake is about 3.4 miles round trip with more ascent. Choose only after checking elevation, weather, trail status and the group’s comfort.
- Day 7 — Buffer and departure: leave time for changing conditions and the drive rather than saving an essential summit for the final hours.
CDC: High-altitude travel and altitude illness ↗ · NPS: current park-road status ↗
This is itinerary-planning information, not medical advice. High-altitude illness can be serious; consult official guidance and seek appropriate medical help for concerning symptoms.
Official sources to recheck before departure
- Rocky Mountain National Park current conditions (NPS) ↗
- NPS Rocky Mountain trail distances and elevation gain ↗
- Bear Lake Road corridor: reservations, shuttles and trail facts (NPS) ↗
- Park Roads and Trail Ridge Road status (NPS) ↗
- High-altitude travel and altitude illness (CDC) ↗
Symptoms at altitude should not be treated as an itinerary inconvenience. This planning tool is not medical advice; consult official CDC guidance and a clinician for individual risks, and seek help if concerning symptoms develop.
Final thoughts
More from Wild Trail Atlas