A first-timer guide to the Grand Canyon South Rim, with practical advice for viewpoints, walking, shuttles, weather and trip planning.
Start at the rim
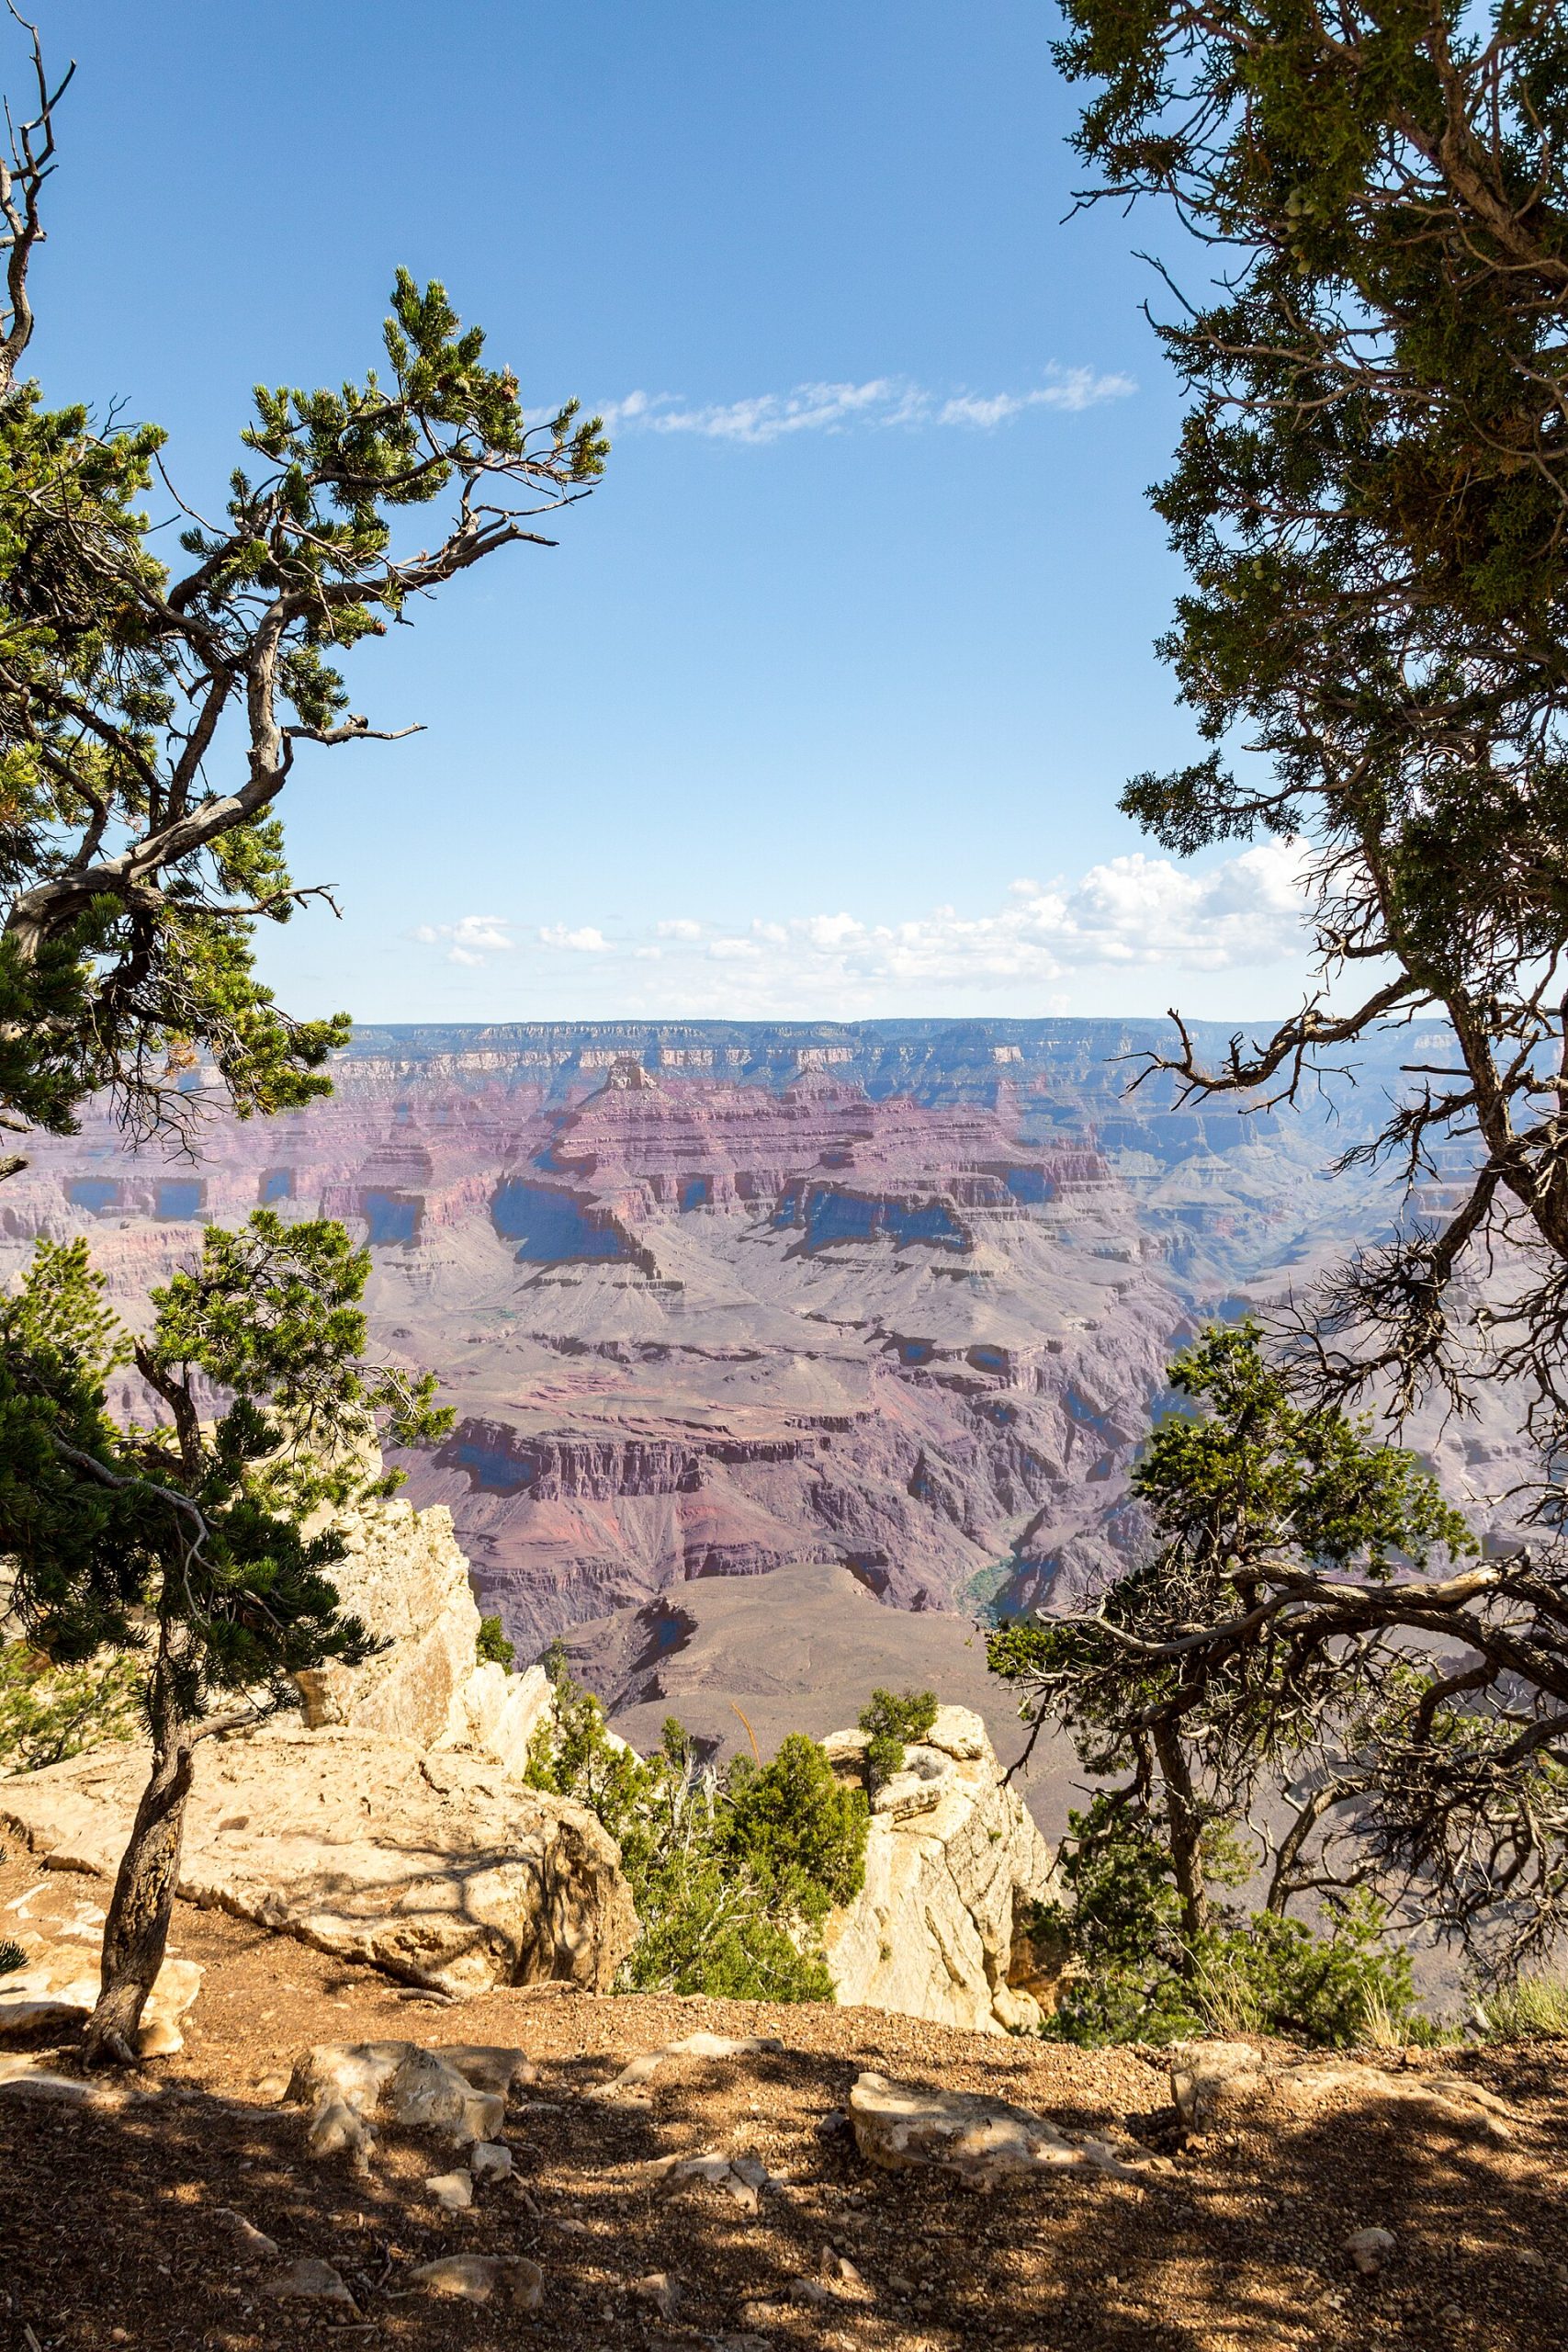
The South Rim is the simplest introduction to the canyon. Visit a few viewpoints at different times of day and notice how changing light reveals different layers of the landscape.
Walk instead of driving everywhere
A section of the rim trail can connect several viewpoints while giving you a better sense of scale. A short walk often creates a richer experience than jumping from parking lot to parking lot.
Treat canyon descents seriously
A walk down into the canyon is not an ordinary day hike because every step down becomes part of the return climb. Set a turnaround point before you start and carry adequate water.
Use park transportation when helpful
Shuttle services can simplify busy periods and reduce parking frustration. Check current service details before your visit.
Respect elevation and exposure
The South Rim sits at high elevation, and exposed areas can feel demanding even when the walk looks easy. Build in breaks and protect yourself from the sun.
Start with the South Rim layout
The South Rim is the most visited side of Grand Canyon National Park and is open year-round. For a first visit, the useful starting point is understanding where your main viewpoints, walks and visitor services fit together.
Do not underestimate the conditions
The canyon’s elevation changes create different conditions at different points. A short rim walk and a descent into the canyon are not equivalent activities, so plan around the experience you actually intend to have.
Use official maps and planning tools
The National Park Service provides maps and offline planning information that can be useful when connectivity is limited. Download current information before heading into areas where service may be unreliable.
Make your first day simple
Choose a few viewpoints or a manageable walk, then leave time to learn the park rather than trying to cover every overlook. A flexible first day makes it easier to adapt to heat, crowds and changing energy.
Reference: Start with the Grand Canyon National Park planning pages.
How to Structure Your First Day
A first visit is easier when the day has a simple rhythm rather than a long list of stops. Start by orienting yourself to the rim, then choose one or two viewpoints or walks that fit your available time. Keep the middle of the day flexible for meals, rest and changing conditions, and leave room for a final viewpoint rather than trying to see everything.
The most useful question is not simply how many viewpoints you can reach. It is how much walking, standing, driving and elevation change your group can comfortably handle. A slower plan often produces a better first visit because you have time to read the landscape, stop when the light changes and adjust if conditions are uncomfortable.
Rim Experience vs. Going Below the Rim
The South Rim offers very different experiences depending on how far you travel from the rim. Rim walks and viewpoints can provide a rewarding introduction without committing the group to a long descent. Routes that go below the rim require a different mindset: the return journey is harder because the elevation must be regained, and heat or limited water can become much more important.
For a first visit, treat a below-rim hike as a separate hiking objective rather than an extension of casual sightseeing. Match the route to your experience, daylight, weather, water supply and ability to turn around before the group becomes overly tired.
A Simple Decision Guide
| If your priority is… | Plan around… |
|---|---|
| A first overview | Rim viewpoints, orientation and a manageable walk. |
| Photography and scenery | Several well-spaced viewpoints with time for changing light. |
| A serious hike | A specific route, realistic turnaround plan, water and conditions checks. |
| A relaxed family day | Short walks, frequent breaks and minimal pressure to cover every viewpoint. |
Heat, Elevation and the Return Journey
Grand Canyon conditions can be misleading because a comfortable rim temperature does not tell you what conditions will be like lower down. Hiking effort also changes as elevation and terrain change. Build the day around the hardest part of the plan, not the easiest part. If anyone in the group is struggling, turning around early is a successful decision, not a failed itinerary.
Written & researched by Graham Grey
Graham Grey is the founder of Wild Trail Atlas and conducts the research behind its travel guides. Guides distinguish firsthand experience from independently researched information and are checked against relevant primary or official sources where available.
About Graham Grey · How Wild Trail Atlas researches its guides · Suggest a correction
Before You Go
- Check the current official access and conditions information before departure.
- Confirm seasonal closures, permits, reservations and transportation requirements that may apply.
- Build extra time into the day for parking, weather, road conditions and unexpected delays.
- Use the guide as a planning framework and verify time-sensitive details with the responsible land manager or official destination source.
- Choose a route that matches your group’s fitness, experience, weather tolerance and terrain conditions.
Final thoughts
You do not need to reach the river to experience the Grand Canyon. Slow down at the rim, choose a manageable walk, and give the landscape time to sink in.
More from Wild Trail Atlas